


Today my boys and I did our first time ever "Egg Dyeing". Brayden wasn't really into it. Tristan was. This being our first time, I wasn't really to prepared. I didn't have any dyeing kit, so we just used what we had in the house.
First I filled a pan with one layer of eggs and filled the water up about 1 inch over the eggs to boil.
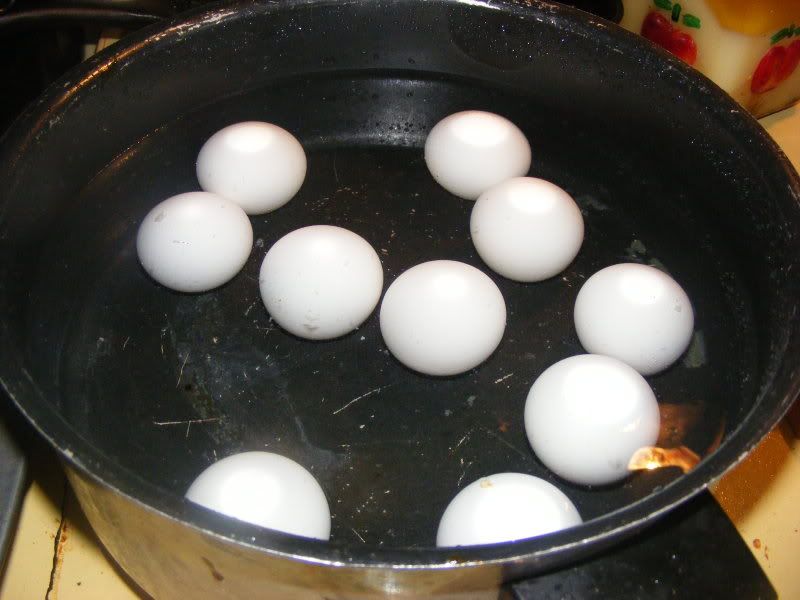
When it just started to boil I turned the heat off and let it sit for about 15 minutes.

After I had it sit, I added some ice to cool the eggs down

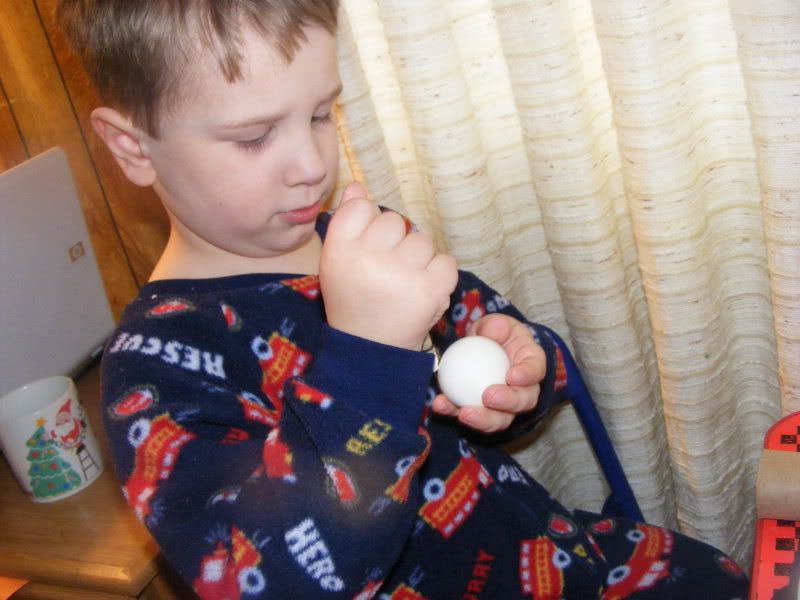
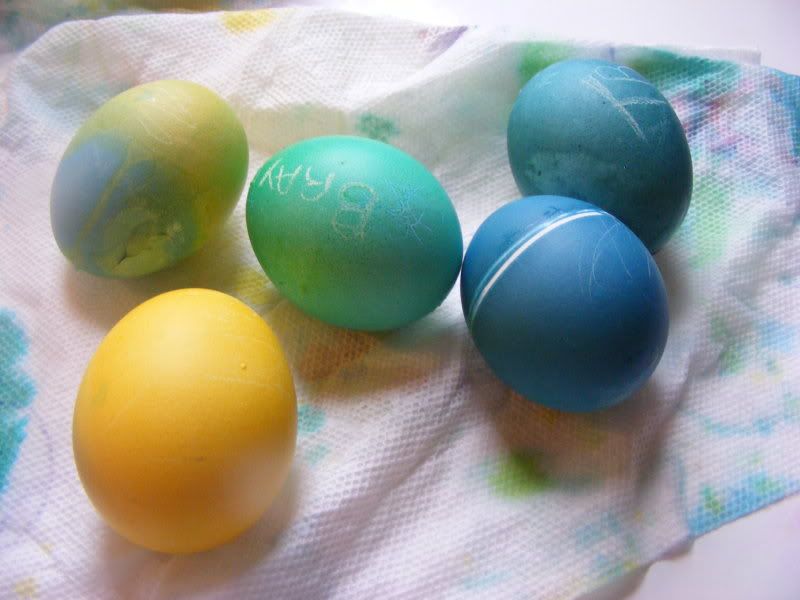
We then used a regular white crayon to write names and whatever Tristan wanted to draw,
on the egg.
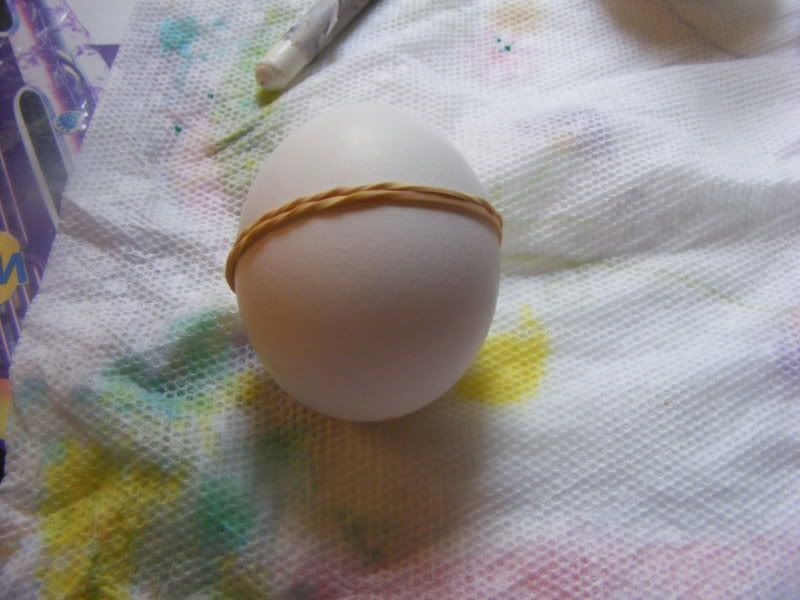
We also put a rubber band around an egg for design
Tristan & Brayden then put each egg in to the dye mix which is 1/2 cup of boiling water, 1 teaspoon of vinegar, and drops of food coloring. The eggs sat in the mix for about 5 minutes.
Tip: Go to McCormick.com, and they offer a color wheel that will help you get the right colors that you want for egg dyeing or any thing you may use with food coloring.
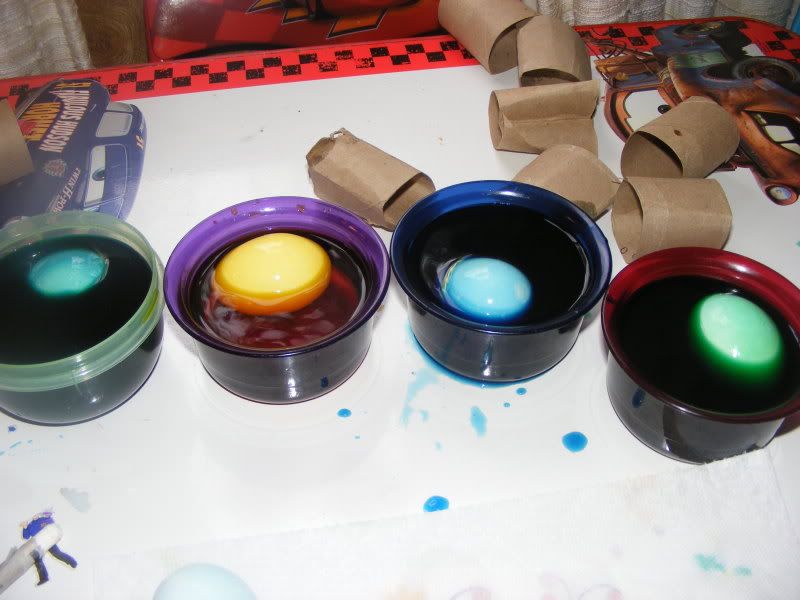
After the 5 minutes, we placed the eggs on cut out paper towel tubes. The tubes were about 2 inches long. It didn't take to long for the eggs to dry. After they dried the boys got to see their creations.


1 Comment:
Great tips! I know this sounds bone headed, but I never know when eggs are done.
Post a Comment